Our Airstream Journey so far
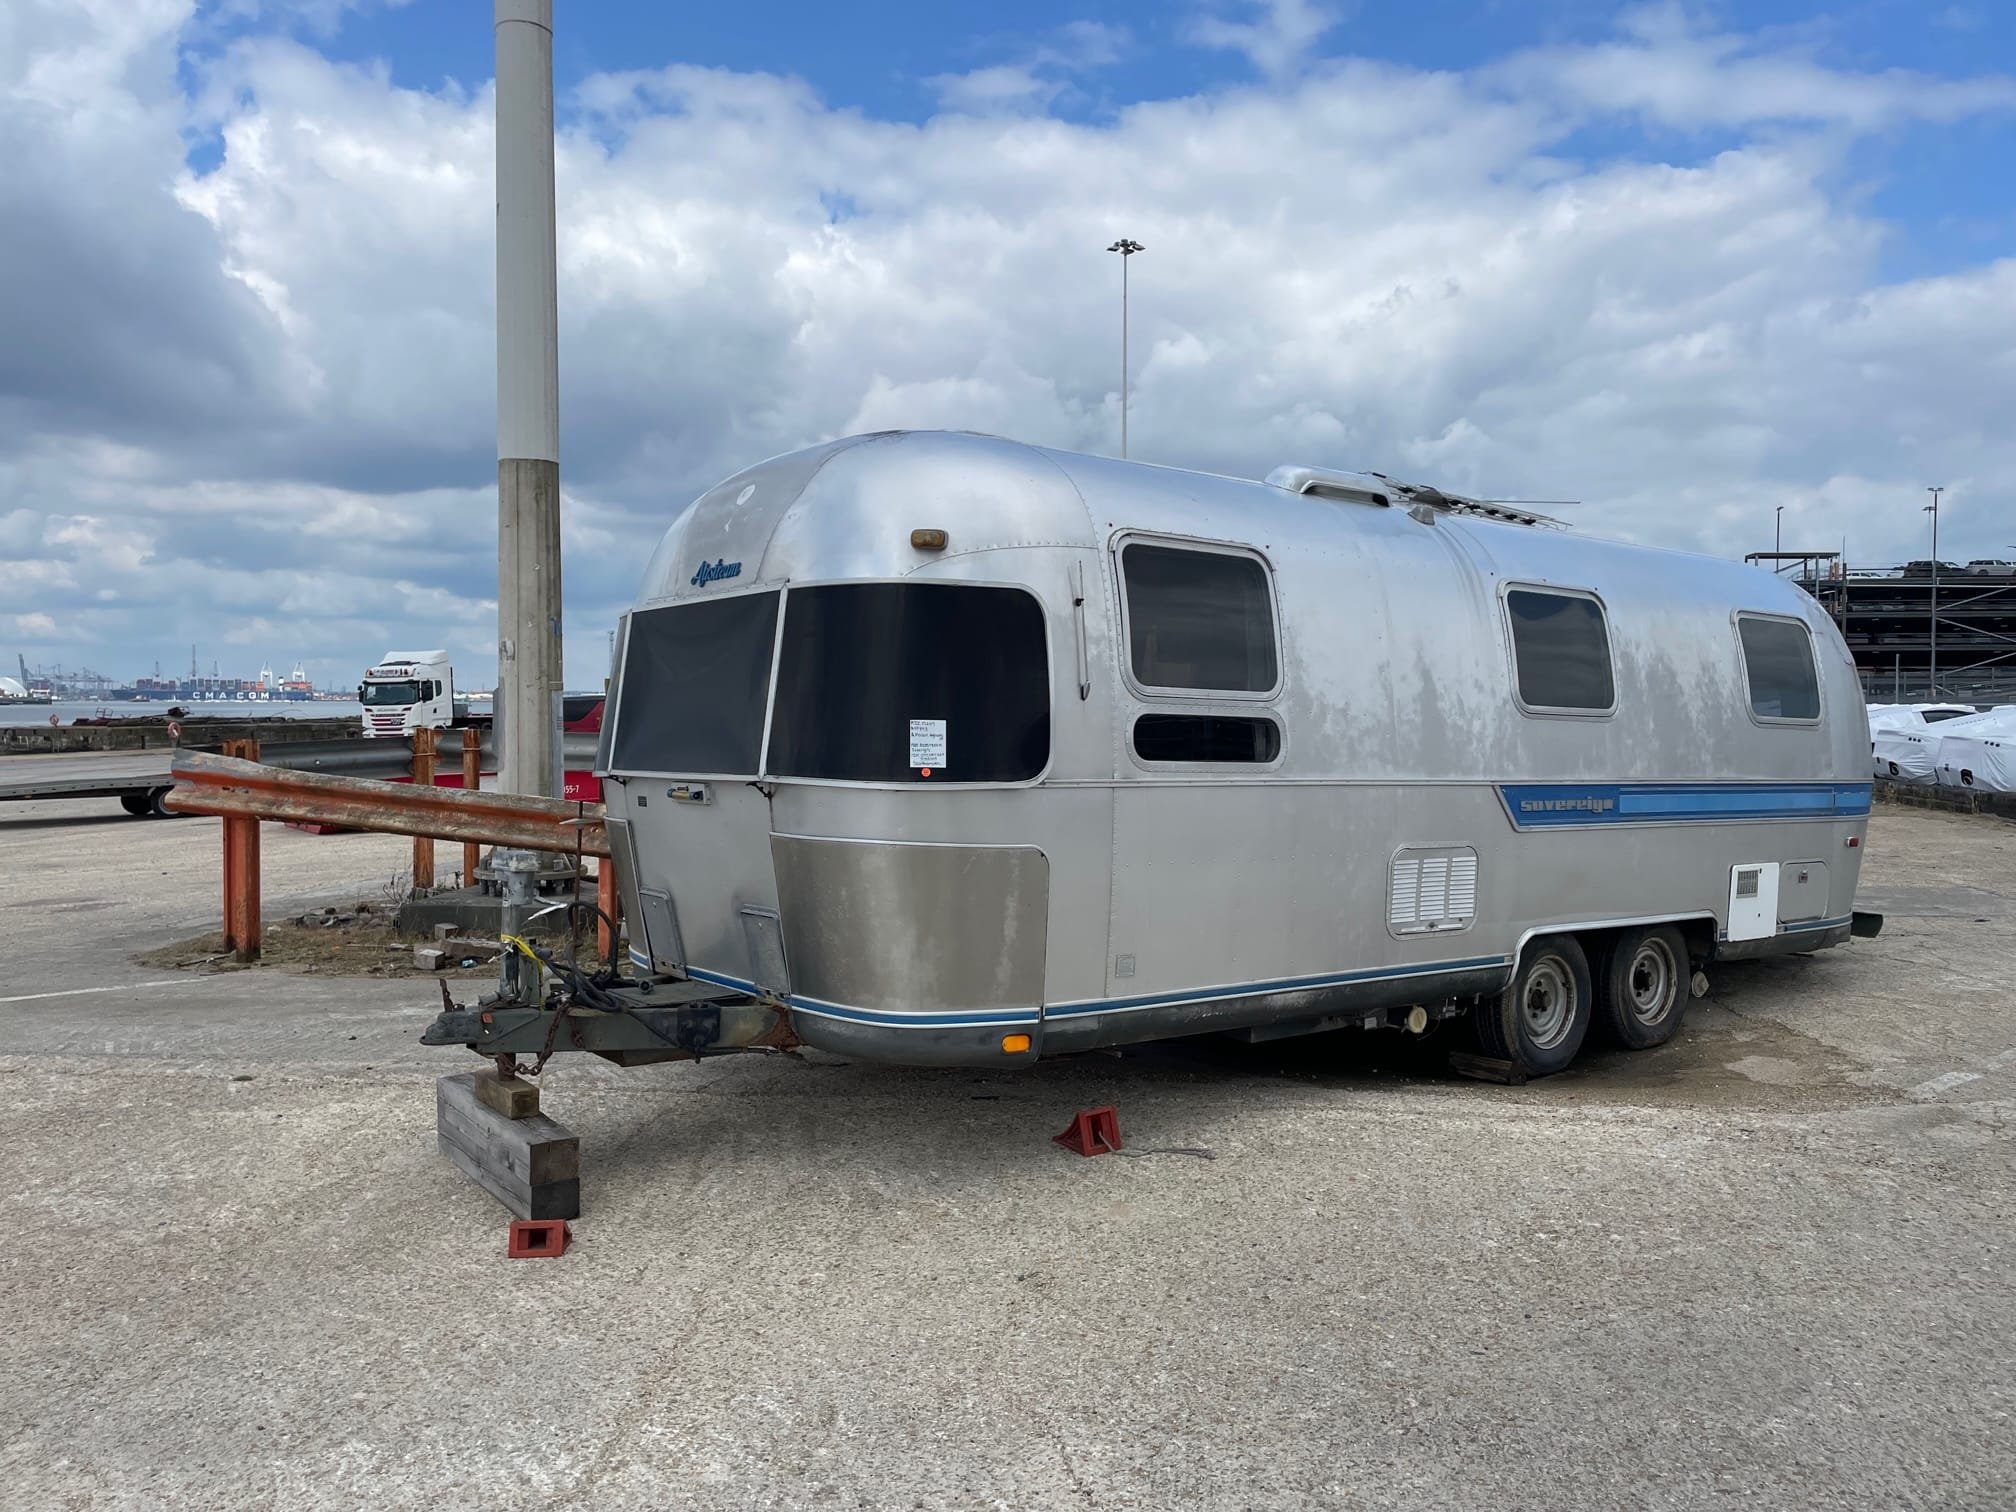
April, our 1985 Airstream Sovereign arrived last summer, and it’s been all hand on deck to get her resorted and rebuilt. It's been a whirlwind of hard work, tools, and dedication over the past several months. From tearing out the old interior to creating new panels, April is coming back to life one phase at a time. Here’s a look at what we’ve accomplished so far
A Fresh Start
April arrived in surprisingly good condition, but we didn’t waste any time. The '80s shag carpet had to go, in fact we ended up tearing all the interior out as most was old and broken
We needed to get down to the bones of the Airstream—the chassis. After 40 years, the chassis had seen better days but it’s nothing a bit of welding can’t fix.
Despite some quirks here and there, April is in fantastic shape for a 40-year-old Airstream! We were impressed with her structural integrity as we got into the teardown.
Stripping Down to the Basics
Whilst we were tearing out the interior and the floor, we also needed to take the inner skins off to get the Airstream to a shell. Under the inner skins was a layer of horrible fiberglass, and wiring that all needed to come out. Airstreams, as you may know, are held together with a maze of rivets, screws, and the world’s stickiest glue. We called in our @dewalttoolsuk to the rescue.
Multiple drill bits later, we stripped out 40-year-old fiberglass insulation (and yes, most of it ended up on us). It was a mess, but progress was being made.
Chassis Work, Power Tools, and a Personal Injury
After we got the Airstream to a shell, it was time to shift our focus to the chassis, which had a little rust and remnants of fasteners we had previously cut off. We couldn’t have done it without angle grinders—thank you @makita for the reliable tools.
But... a quick reminder: angle grinders are powerful and dangerous. Alex’s leg is a testament to that, as a quick slip led to a minor injury (lesson learned!). Still, we ground off the rust, welded doubler plates onto the rotten crossmembers, and applied Wurth rust converter and Hammerite to keep the chassis safe for the future.
Cardboard Aided Design (CAD)
Finally, we were ready to start putting things back into the Airstream, starting with the flooring. One of the trickiest parts of Airstream renovation is fitting floors without removing the body. A lot of people would tell you it's nearly impossible, but as it turns out, all you need is some cardboard and a giant hammer!
We decided to go with Wisa special phenolic plywood flooring, known for its durability. The tricky part? The middle section. We’re saving that for later, as we need to remove the water tanks and convert the axles to UK-spec hydraulic brakes.
Tackling Hidden Damage
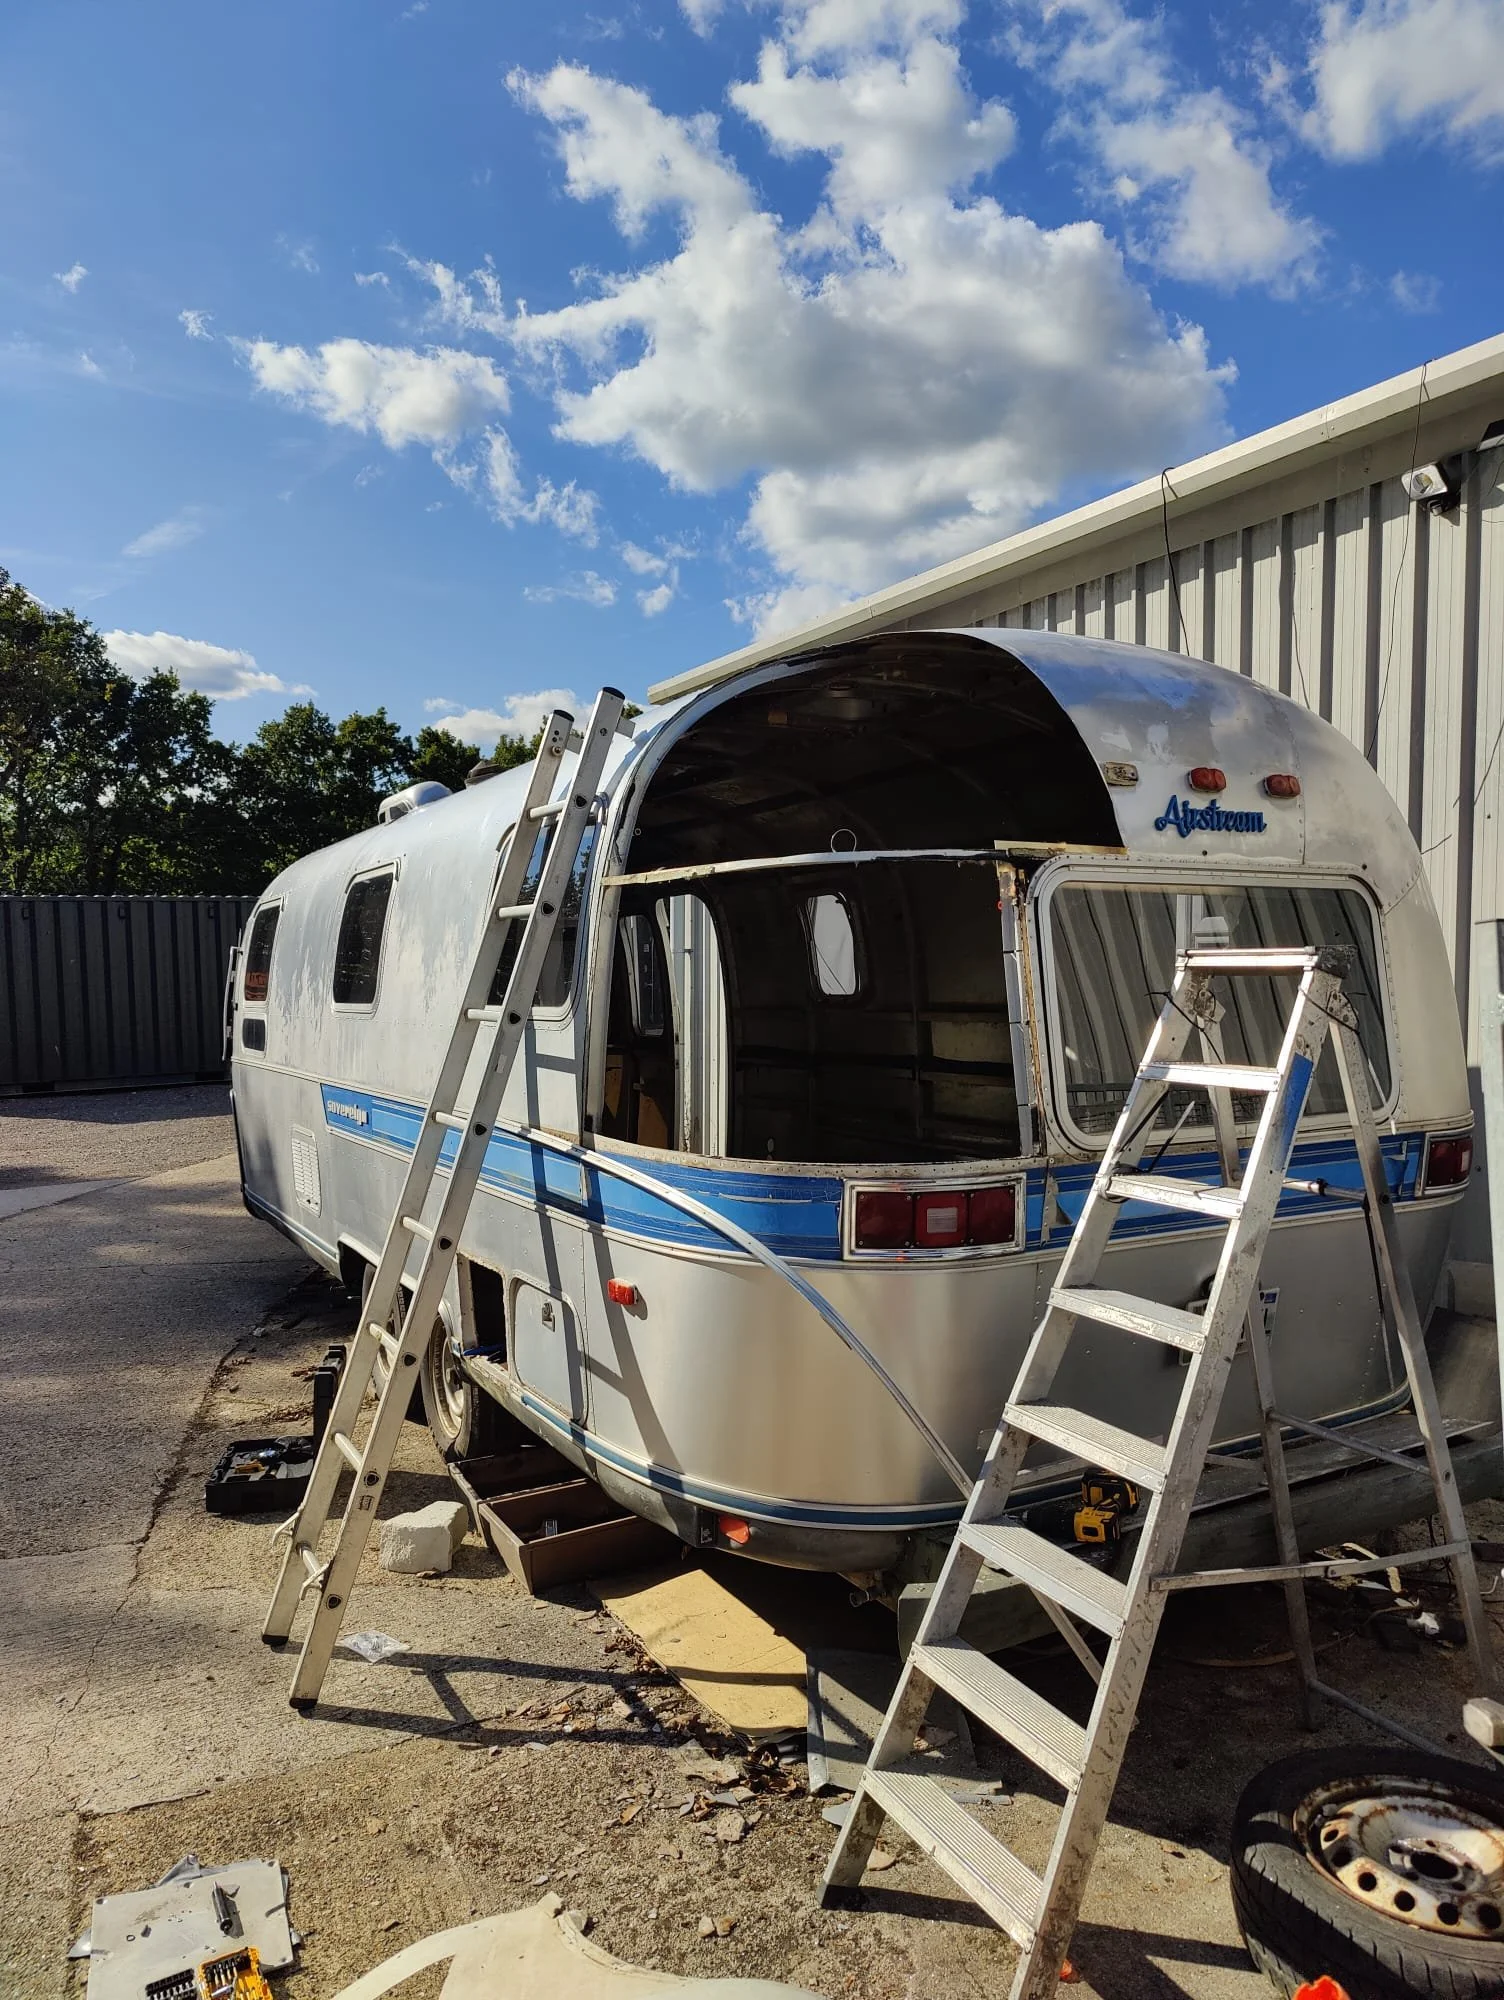
April had some damage in the past, we think someone had backed her into a tree, and the repair job involved wood screws and bondo. We figured we could do better. Both rear panels were beyond saving, so we set to work replacing them.
With our @metztools English Wheel, we spent many hours handcrafting two new curved panels to fit. After a few YouTube tutorials, we got the hang of it. A huge thanks to @makeitkustom and @kingdommetalworks for their helpful guidance! After some careful trimming around the window and panel beating to get the edges to match, we drilled some locating holes and got both panels in place with solid rivets.
For the rivets, we upgraded to 5/32” diameter to ensure a solid fit. Using a @Sealey rivet gun, @Scheppach compressor, and a trusty @Dewalt angle grinder, we made sure everything went back together perfectly. This process took a little longer than expected, but we’re so happy with how it turned out.
Surge Brakes and Towing
We made the decision to convert April to surge brakes. This was a necessity for our UK journey, as the original 40-year-old American brakes weren’t going to cut it. We also needed a new hitch to match UK towing regulations, and Jonathan at Classic Airstreams helped us source the perfect axles and hitch.
The hitch was fitted, and with the help of “Terry the Touareg,” our tow vehicle, we moved April to a more local location for winter work. Now, we're focused on chasing down leaks and prepping for insulation.
Plumbing and Water Tanks
April’s plumbing system was outdated, to say the least. We’re sticking with the 3-tank system—fresh water, grey, and black—but we’re upgrading the setup with a marine-style macerating toilet and using grey water to flush the toilet.
Plastic welding and leak tests were necessary to make sure everything was sealed tight. And, of course, we’re making sure every seam and seal is watertight before moving forward with the interior.
Interior prep
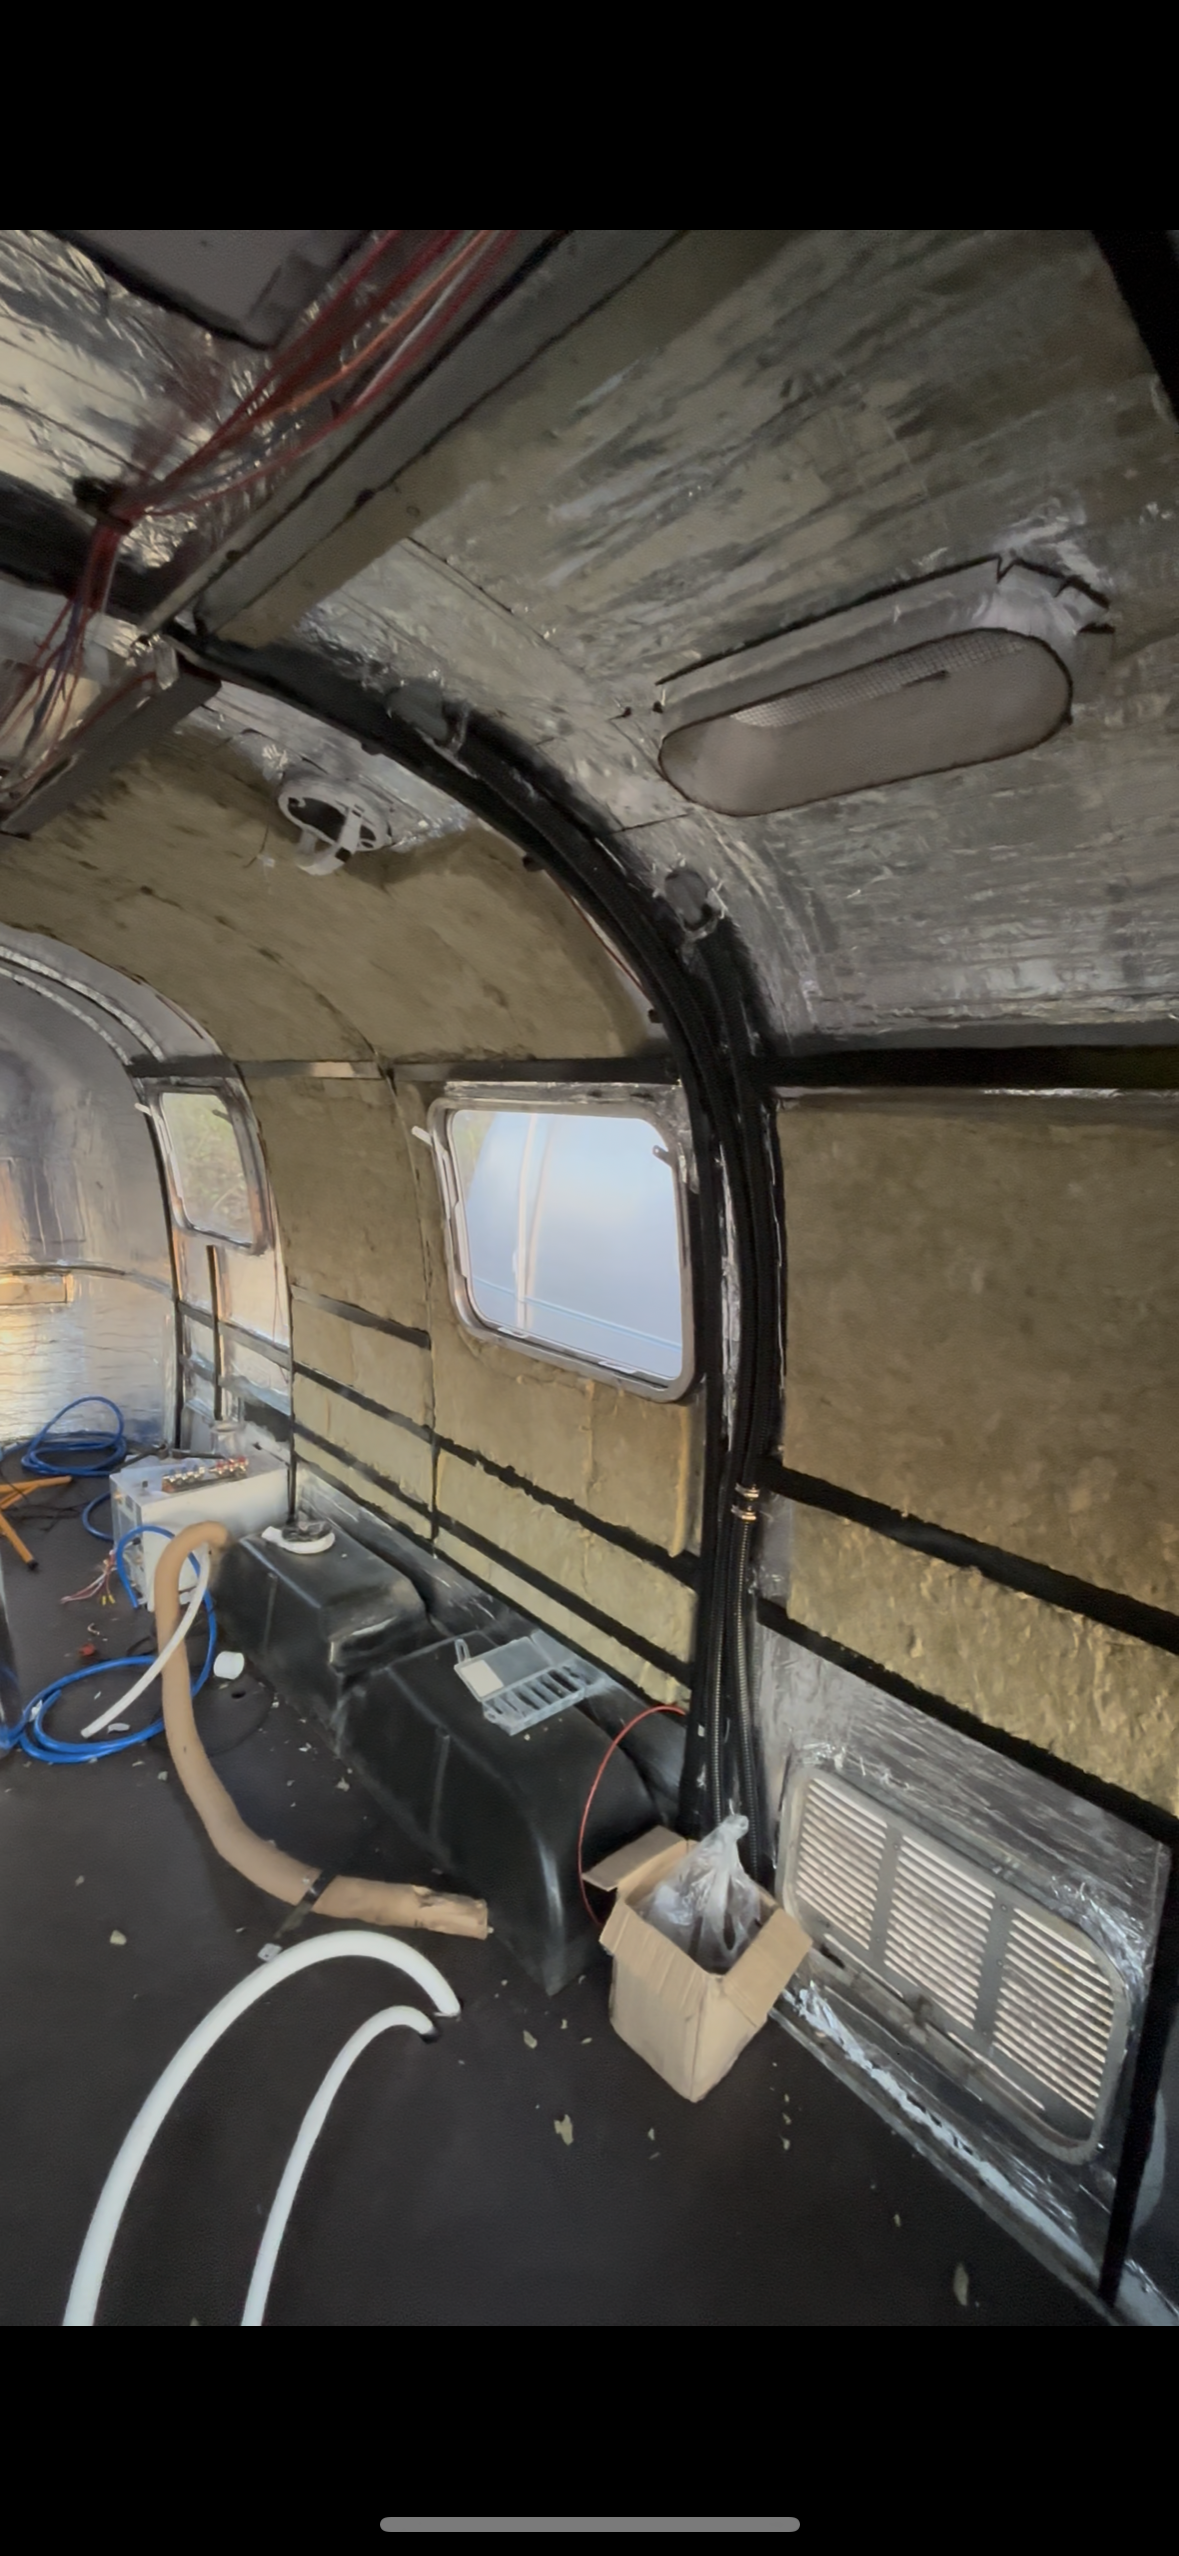
Before we can install our shiny new colours interior skins, we need to insulate. Were using @Dodomat Dead Easy Sound proofing, followed by a layer of rockwool. Big thanks to Dodomat for making such a great product, it’s super easy to install and makes such a big difference.
Belly Pans and the last of the leaks
Airstreams have a skin of Aluminium which covers the underbelly, known as belly pans. April’s original belly pans had seen better days, so we decided to make new ones of these too. The way that Airstreams are built is the belly pans wrap up over the outside of the airstream, and the seam is then covered with a trim strip. Although we found a huge design flaw in this. When it rains, the water collects behind the trim strip and falls down into the belly pans, soaking the wooden floors. To stop this, we made a tight seam and then covered all areas in Sikaflex sealant. As of this week, we’ve found no leaks in the Airstream! Something we were told was impossible.
Sanding and Polishing
After months of dust, grime, and grit, it’s time to start sanding and polishing! We’re using the @dewalttoolsuk DCW210N sander to strip the top layers off and prepare for the final finish.
With everything coming together, we’re excited to be close to the final stages. The plumbing, wiring, and insulation is all being finished, followed by the installation of the inner aluminium skins. We can see the light at the end of the tunnel!
Let there be light, and electrics.
This week has been all about the electrics — a crucial step before we can start putting the interior back together.
Since our Airstream came over from the States, we’ve had to completely overhaul the electrical system to meet UK standards. That’s meant new wiring throughout, plus fitting the Maxx air fans and air conditioning unit.
Alex has been deep in the wiring game, and his number one tip? Label everything. Future-you will thank you — tracing mystery wires later is not the kind of puzzle you want to be solving mid-build!
And the best part? We’ve got power! Seeing the system come to life is a real milestone, and it’s finally starting to feel like we’re turning a corner.
Meanwhile, my ever-reliable helper (aka Dad) has been making a start on the polishing. It’s a big job, but we’re already seeing that iconic shine starting to come through.
Teamwork makes the dream work!
Polishing an Airstream — how hard could it be?
Spoiler: very. Seventeen days, countless debates, and at least a few hundred YouTube tutorials later… we’ve finally brought her back to her shiny, silvery glory.
We definitely learned a few things the hard way:
Clear coat? Sand it all off first. No shortcuts — just elbow grease.
Be prepared to argue (a lot) about technique.
You will obsess over finishes, lighting angles, and which compound works best.
And eventually, you’ll find your groove — and a shine you’re proud of.
This was a big milestone in our Airstream journey, and we’re loving how far she’s come. There’s nothing quite like seeing those polished panels reflect the sky.
Next up, interior and walls!